Pinholes in epoxy flooring are a common and frustrating problem - but most can be prevented with the right preparation and understanding of your concrete slab. By learning to “read” the substrate and applying the correct techniques, you can significantly reduce the risk of pinholes and the bubbles they cause.
Over a series of experiments, we explored how different concrete conditions affect pinhole formation and how working with the slab - rather than against it - makes a huge difference in achieving a smooth, professional finish.
What Are Pinholes?
Pinholes are tiny holes formed in the concrete while it’s being laid. They’re often hidden beneath the surface and only become visible after grinding.
- Softer, more porous slabs tend to produce more pinholes.
- Harder, denser concrete can also have them.
- A single slab may vary in hardness and porosity, with some areas more prone to pinholes than others - often where the concrete was over-prepped or exposed to heat.
Think of concrete like a sponge: it absorbs and releases air and moisture constantly. As the slab heats up, air expands and moves toward the surface; as it cools, air is drawn back in. Pinholes exaggerate this “breathing,” which can cause bubbles to form when coatings are applied.
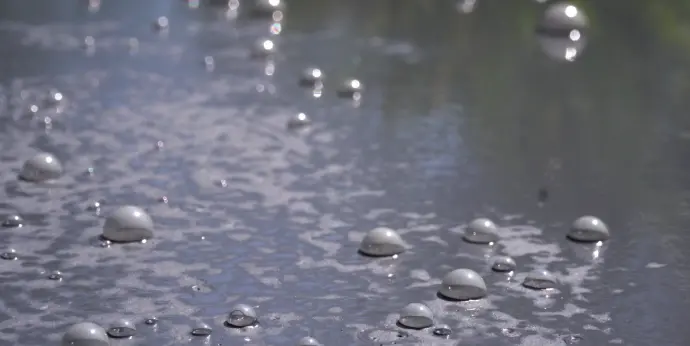
How Bubbles Form
Bubbles occur due to outgassing - the slow escape of pressurised air from the concrete surface. Temperature changes, like a cold morning warming up to a hot afternoon, cause the air in the slab to expand and push through the coating.
- Porous slabs are most affected, especially if coatings are applied while the slab is still heating.
-
Coating stage affects bubble behaviour:
- Wet coating: bubbles usually wet back in and disappear.
- Partially cured coating: bubbles pop, leaving a ring or lump around the pinhole.
- Fully curing coating: bubbles can become “frozen” in place, often seen in fast-curing top coats.
Why Reading Concrete Matters
Every slab is different. Understanding your substrate is essential for a successful epoxy application. Consider:
- Is the concrete porous or dense?
- Is there rising moisture?
- How hard or soft is the slab?
- Are sealers or densifiers present?
Knowing these factors prevents problems during application and helps determine whether a sacrifice coat or ceramic scratch coat is required - crucial during project quoting.
Simple Water Test to Assess Concrete
A quick water test can reveal porosity and hardness:
- Pour a capful of water onto the concrete and spread it thinly.
-
Wait 10 - 20 minutes and observe absorption:
- Fast absorption → softer or more porous concrete.
- Slow absorption → harder or denser concrete.
- No absorption → presence of a sealer or densifier.
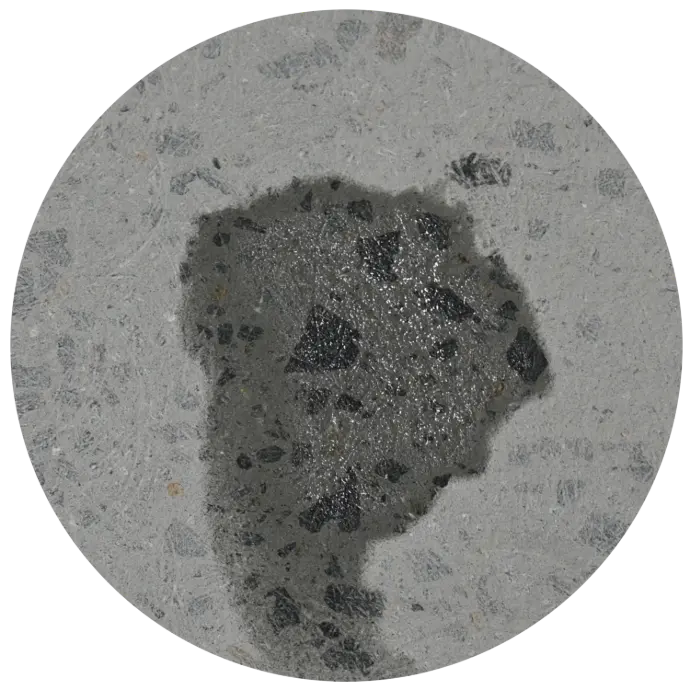
Fast absorption: Soft and porous
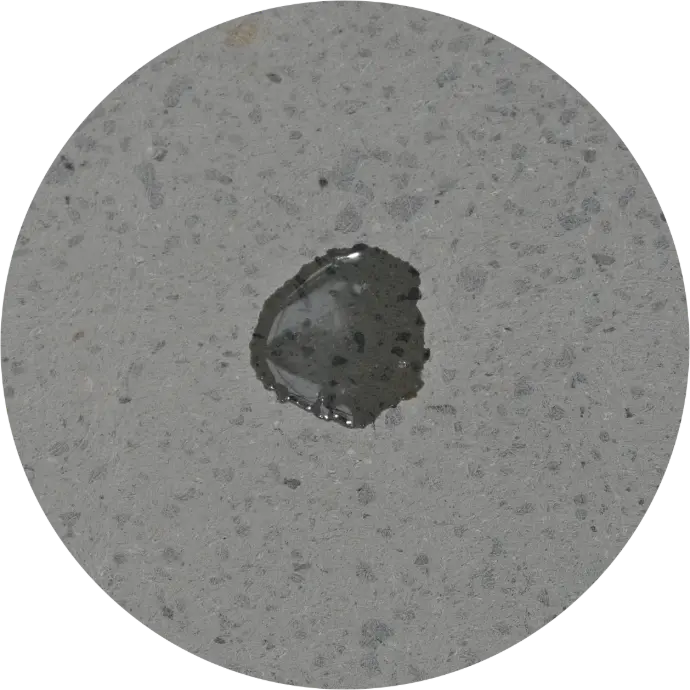
Slow absorption: Harder and dense

No absorption: Presence of a sealer
This test helps you decide the correct grinding and priming method before applying epoxy.
Preparing Different Concrete Conditions
- Most slabs: Heavy grind, then prime with 10 - 15% APC Thinners.
- Rain-damaged concrete: Heavy grind, then sacrificial coat of EPO-HI® GP Clear Epoxy.
- Hard, dense concrete: Heavy grind, then prime with 20 - 25% APC Thinners.
- Concrete with densifier/guard: Grind with 16 - 25 grit soft diamonds, repeat water test, proceed based on results.
- Concrete with sealer: Remove via grinding; if stable epoxy is present, perform heavy 40 grit sand.
- Pitted concrete: Heavy grind, prime, then ceramic scratch coat.
- Super soft or powdery concrete: Light quick grind if possible, or heavy vacuum followed by sacrificial EPO-HI® GP Clear Epoxy with 15% APC Thinners. Once cured, light grind with 30 grit diamonds.
Pro Tip: Never skip the grinding step - even sacrificial coats need a keyed substrate to perform effectively.
Environmental Effects: Summer vs Winter
Temperature swings significantly affect pinhole and bubble formation. While summer often produces the most bubbles, winter is not risk-free:
- Concrete can heat up 20 - 25°C between early morning and midday, even on cooler days.
- Rapid heating and cooling causes the slab to “breathe,” which can force air out through pinholes.
Tips to Minimise Pinholes and Bubbles
- Avoid direct sunlight during application - it accelerates air and moisture expansion.
- Work outside peak heat hours - typically after 3 pm or before 7 am.
- Use shade or temperature control to maintain consistent slab and air temperatures.
- Reschedule applications if extreme heat is expected.
Pinholes are a natural feature of concrete, but with the right preparation, reading the slab correctly and controlling application conditions, their impact can be minimised. Understanding your substrate and taking the correct steps ensures a smoother finish, reduces bubble formation and leads to professional epoxy floors.
Pinholes in Epoxy Flooring: How to Read Concrete and Prevent Bubbles